
Introduction
When requesting a custom packaging quote, many buyers begin with a product photo and one short question:
“How much would this box cost?”
A reference photo is helpful, but it is usually not enough for an accurate quotation.
Custom packaging cost and structure depend on the actual product dimensions, weight, quantity, box style, insert requirements, materials, printing, finishing, and target sales channel.
If these details are incomplete, a packaging manufacturer can only provide a rough estimate. This can lead to repeated questions, inaccurate box sizes, unsuitable inserts, and additional sample revisions.
This guide explains how to measure your product, photograph important details, organize accessories, and prepare the information needed for a practical custom packaging quotation.
Quick Answer: What Should You Prepare?
Before requesting a custom packaging quote, prepare:
- Product length, width, and height
- Product weight
- Clear product photos
- Dimensions of every accessory
- Number of products packed in each box
- A simple proposed product layout
- Preferred box style
- Insert and protection requirements
- Order quantity
- Material and finishing preferences
- Reference packaging photos
- Target market or sales channel
You do not need to know every technical packaging specification. However, accurate product information helps the manufacturer recommend a more suitable box structure, internal size, insert material, and quotation direction.
If you are still comparing box structures, review our custom packaging solutions before finalizing your quotation request.
Why Accurate Product Information Matters
Custom packaging is designed around the product.
Even a small difference in product size can affect:
- Internal box dimensions
- Insert cavity size
- Board and paper usage
- Product removal space
- Box closing condition
- Shipping protection
- Packing efficiency
- Final unit price
A product that looks small in a photograph may be heavy, fragile, unusually shaped, or supplied with several accessories. These factors can change the recommended packaging structure.
For example, a lightweight cosmetic tube may only require a folding carton and paperboard insert. A glass bottle may need a stronger box and fitted internal support. An electronics set may require separate spaces for the device, cable, adapter, manual, and other accessories.
Accurate information allows the packaging structure to be planned around the complete product rather than an assumption.
Step 1: Measure the Product in Its Packing Position
Measure the product in the position in which it will sit inside the box.
Use millimetres whenever possible and record the dimensions as:
Length × Width × Height
For a rectangular product, measure the maximum outer dimensions.
If the product has handles, buttons, caps, connectors, raised parts, curved surfaces, or other protruding details, include them in the measurement.
Do not measure only the main body if another part extends beyond it.
For Regular Products
Measure:
- Maximum length
- Maximum width
- Maximum height
- Any removable or protruding parts
This method can be used for products such as skincare bottles, electronic devices, candles, perfume bottles, accessories, and small gift products.
For Irregularly Shaped Products
Photograph the product beside a ruler and measure its widest, longest, and highest points.
Also identify:
- Fragile areas
- Rounded or curved sections
- Raised buttons or connectors
- Sharp corners
- Soft or compressible parts
- Surfaces that may be scratched
For an irregular product, a simple drawing with dimensions is often more useful than a single measurement.
Do Not Confuse Product Size With Box Size
If you do not know the final box size, provide the product size first.
The final box size should be determined after considering:
- Insert thickness
- Required clearance
- Product removal space
- Board thickness
- Box structure
- Accessories
- Required protection level
Avoid guessing the final box dimensions before the internal layout has been planned.
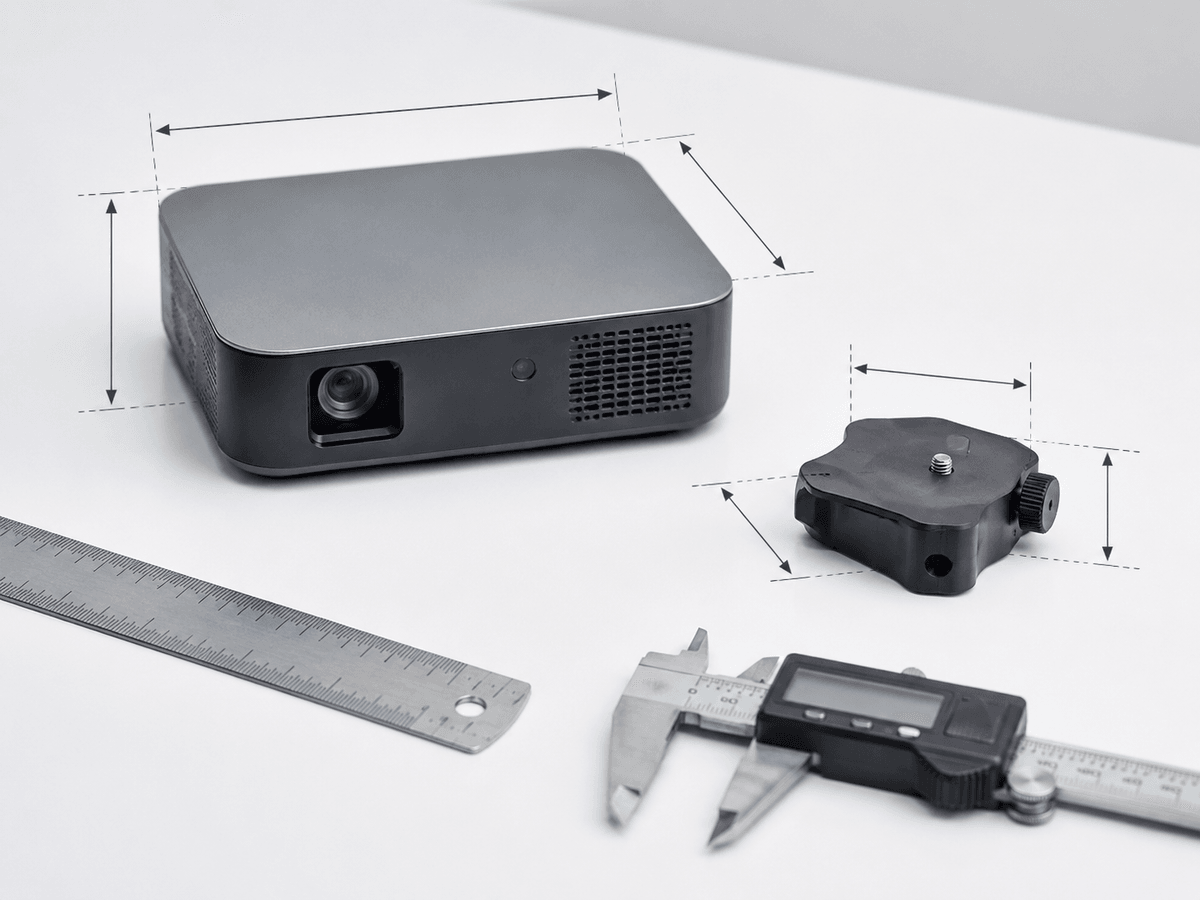
Step 2: Record the Product Weight
Product weight is important because it affects the required box strength and insert support.
A lightweight item may work with a folded paperboard insert. A heavier glass, metal, ceramic, or electronic product may need EVA, foam, molded pulp, or a stronger structural tray.
Record:
- Weight of the main product
- Weight of each accessory
- Total weight of one complete set
- Number of sets packed in each box
Product weight can influence:
- Insert density and thickness
- Box board strength
- Cavity depth
- Hanging display safety
- Carton packing
- Shipping protection
If the product is heavy, the insert should not be designed only for appearance. It must also support the product during handling and transportation.
Step 3: Measure Every Item in a Product Set
For packaging that contains several items, measure every component separately.
A product set may include:
- Main product
- Charging cable
- Adapter
- Instruction manual
- Warranty card
- Cleaning cloth
- Replacement parts
- Jewelry accessories
- Product samples
- Promotional cards
Do not send only the dimensions of the largest item.
The final box and insert layout depend on the complete set. A small cable, manual, or accessory may change the required box depth or internal arrangement.
For every item, record:
- Item name
- Length, width, and height
- Weight
- Quantity packed in each box
- Preferred position inside the box
This information helps the manufacturer plan the complete packaging rather than only the main product cavity.
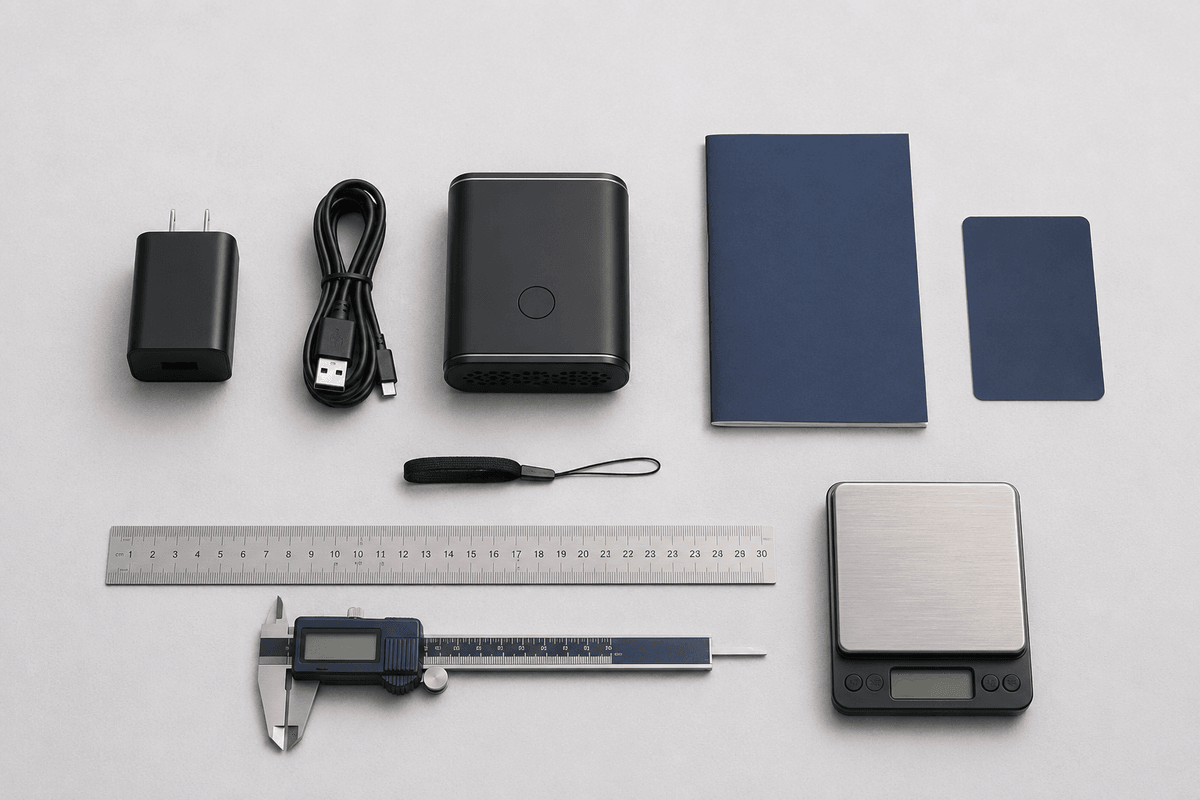
Step 4: Take Clear Product Photos
Good product photos reduce misunderstandings during early packaging discussions.
You do not need professional photography. Clear smartphone photos are usually enough for an initial quotation.
Photograph the product from these angles:
- Front view
- Back view
- Left or right side view
- Top view
- Bottom view
- Close-up of fragile or protruding details
- Complete product set with all accessories
- Product beside a ruler or measuring tape
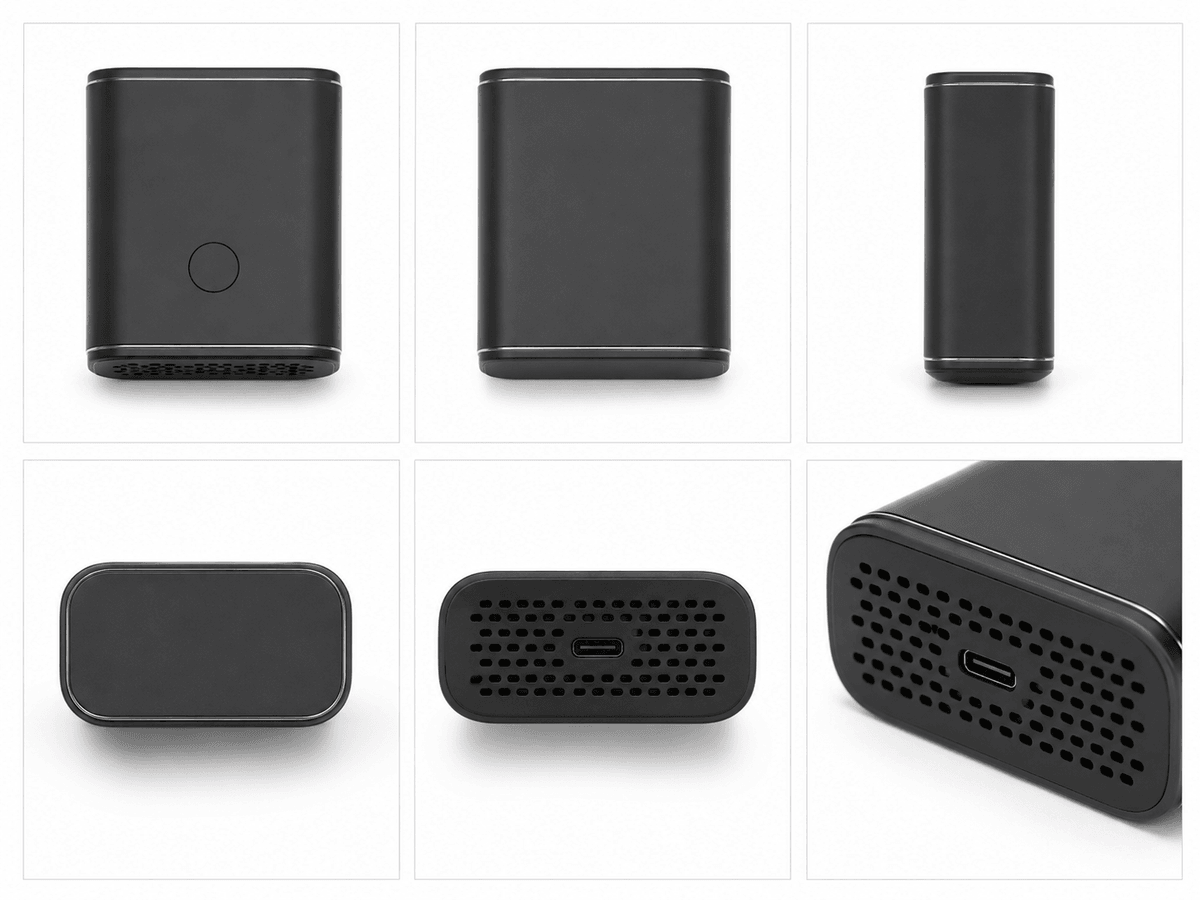
Use a clean background and sufficient lighting. Make sure the full product is visible and not covered by your hand.
For reflective, transparent, dark, or unusually shaped products, take additional side views so the structure is easier to understand.
Show the Intended Opening Presentation
If the product must face a particular direction when the box is opened, photograph it in that position.
For example:
- A logo should face upward
- A necklace pendant should be centred
- A watch should sit around a cushion
- A device and its accessories should appear in a defined order
- A bottle label should face the customer
The desired opening presentation affects the insert cavity and internal layout.
Step 5: Create a Simple Product Layout
For multi-item packaging, create a simple top-view layout before requesting the quote.
A professional drawing is not required.
You can:
- Place all products on a sheet of paper.
- Arrange them in the preferred order.
- Leave reasonable space between each item.
- Take a photograph directly from above.
- Add the dimensions of each item.
- Mark the preferred opening direction.
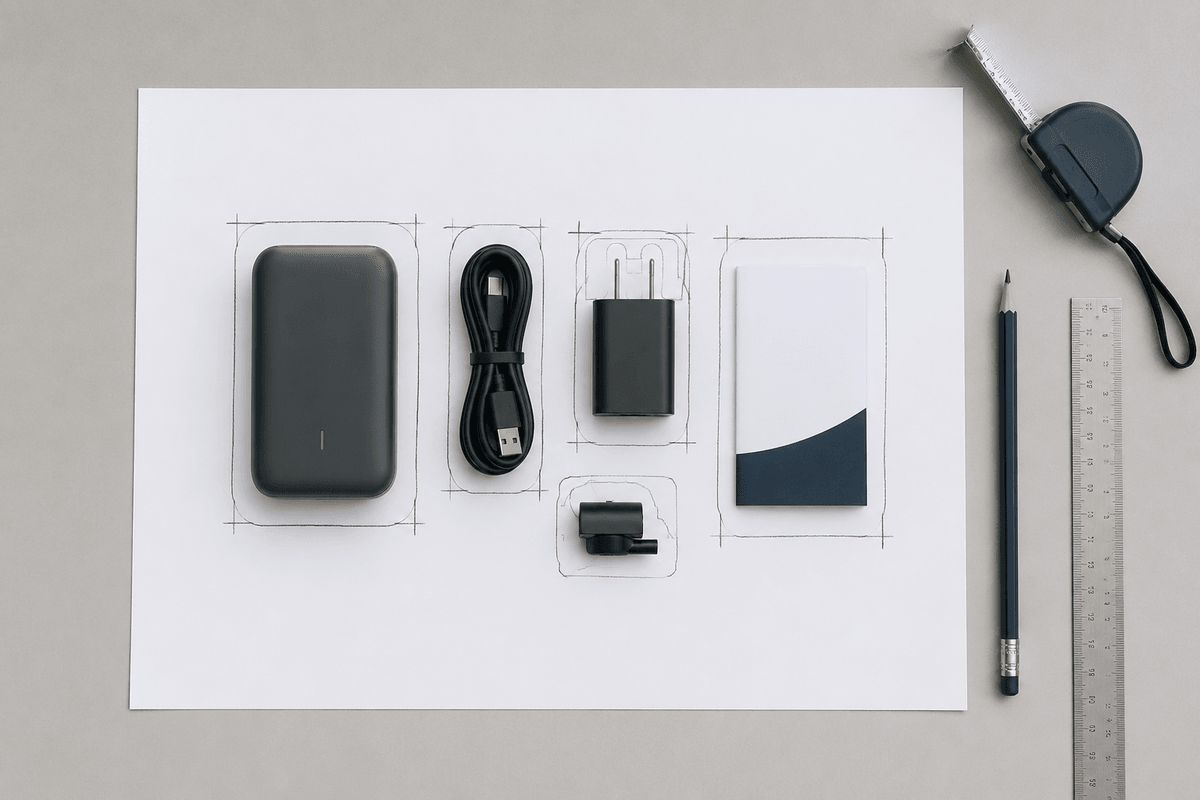
This simple layout helps explain:
- Which product should appear first
- Which items belong together
- Whether products should sit vertically or horizontally
- Where manuals and cards should be placed
- How much separation is needed
- Whether the box should be compact or presentation-focused
The manufacturer can then review whether the arrangement is practical for a custom insert, rigid box, drawer box, lid and base box, or folding carton.
Step 6: Explain the Required Protection Level
Different projects require different levels of protection.
Tell the packaging manufacturer whether the packaging will be used for:
- Retail display
- E-commerce delivery
- International shipping
- Gift presentation
- Wholesale distribution
- Product launch kits
- Sales samples
- Promotional sets
Also explain whether the product is:
- Fragile
- Heavy
- Scratch-sensitive
- Made from glass or ceramic
- Sensitive to movement
- Supplied with several loose components
- Intended for premium presentation
A product sold through e-commerce may need stronger internal support than the same product displayed in a retail store.
The correct packaging should balance protection, presentation, packing efficiency, and cost.
Step 7: Send Reference Packaging Photos Correctly
Reference photos help communicate your preferred direction.
However, do not send a reference image without explaining what you like about it.
Add short notes such as:
- “We like this magnetic opening.”
- “We want a similar drawer structure.”
- “We prefer this product layout.”
- “We like the gold foil logo but not the box colour.”
- “We want a similar premium appearance with a simpler structure.”
- “We need stronger protection than this example.”
Reference images should be used to explain structure, material, layout, or finishing direction—not simply to copy another brand’s packaging.
If you are still comparing box structures, review the available custom packaging solutions and custom rigid box options before finalizing your preference.
Step 8: Confirm the Order Quantity
Always include the expected quantity when requesting a quotation.
Quantity affects:
- Production method
- Material purchasing
- Printing setup
- Die-cutting setup
- Insert tooling
- Unit price
- Packing plan
QX Packs’ standard MOQ is 1,000 pieces per design.
A quantity of 500 pieces per design may only be considered for compatible combined designs using the same size, structure, materials, and production setup.
For a clearer explanation of production quantities and compatible combined designs, read our guide to MOQ in custom packaging.
If you have several designs, explain:
- Number of designs
- Quantity for each design
- Whether the box dimensions are identical
- Whether the materials and finishes are identical
- Which artwork elements will change
This allows production compatibility to be reviewed before any lower quantity is discussed.
Step 9: Prepare the Remaining Quote Details
In addition to product measurements and photos, provide the following information.
Box Type
Examples include:
- Rigid box
- Magnetic closure box
- Drawer box
- Lid and base box
- Folding carton
- Display box
- Packaging sleeve
- Handmade gift box
If you are unsure, describe the product, protection needs, target market, and budget direction.
Material Preference
You can provide a material name or a reference photograph.
Common options include:
- Printed art paper
- Textured paper
- Kraft paper
- Specialty paper
- Rigid board
- Paperboard
Printing and Finishing
Common options include:
- CMYK printing
- Pantone colour
- Matte lamination
- Soft-touch lamination
- Foil stamping
- Embossing
- Debossing
- Spot UV
Insert Requirements
Explain whether the product needs:
- EVA insert
- Foam insert
- Velvet-covered insert
- Paperboard insert
- Molded pulp insert
- Thermoformed tray
- Dividers or compartments
If you do not know the insert material, explain the product weight, fragility, presentation goal, and target market.
Target Market and Sales Channel
Tell the manufacturer whether the packaging is intended for:
- E-commerce
- Retail stores
- Boutique display
- Wholesale distribution
- Gift sales
- Promotional use
- Subscription products
This helps determine the appropriate balance between presentation, protection, cost, and shipping efficiency.
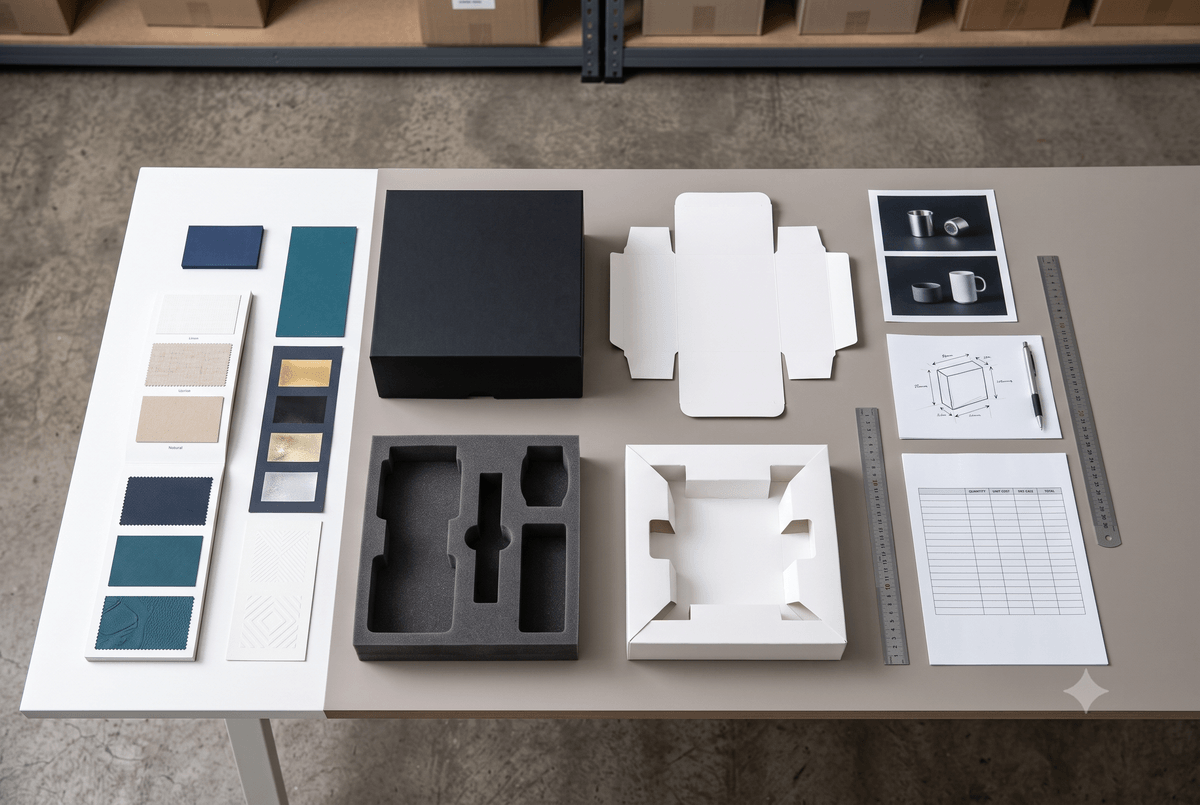
What Can Be Confirmed From Photos Alone?
Product photos can support an initial structure recommendation and quotation direction.
However, photos alone cannot fully confirm:
- Exact product dimensions
- Product weight
- Surface texture
- Insert tightness
- Removal space
- Product movement
- Material feel
- Final colour
- Sample performance
Before mass production, the real product should be tested inside the packaging sample whenever product fit is important.
For products with complex shapes, fragile surfaces, several accessories, or precise insert requirements, sending a physical product sample may be the safest way to confirm fit.
Common Mistakes to Avoid
Sending Only One Front-View Photo
A front photo does not show product thickness, raised parts, connectors, or curved surfaces.
Providing Estimated Dimensions
Estimated dimensions may result in an inaccurate box size or insert cavity.
Measuring Only the Main Product
Accessories, manuals, cables, cards, and spare parts also require space.
Mixing Millimetres and Inches
Use one measurement unit consistently and label it clearly.
Sending a Reference Box Without Explaining It
Explain which structure, material, colour, insert, or finishing detail you want to follow.
Requesting a Final Price Before the Structure Is Clear
If the box type, size, material, insert, finishing, and quantity are incomplete, the quotation can only be approximate.
Confirming the Box Before Planning the Insert
The outer box and insert should be developed together. Otherwise, the product may sit too high, move inside the box, or prevent the lid from closing properly.
A Simple Message Template for Requesting a Quote
Hello QX Packs,
We need custom packaging for: [product type]
Product size: [length × width × height]
Product weight: [weight]
Products per box: [quantity]
Preferred box style: [box type or “please recommend”]
Insert requirement: [material or protection requirement]
Printing and finishing: [requirements]
Order quantity: [quantity per design]
Target market or sales channel: [market/channel]
Shipping country: [country]
Product photos, measurements, accessory details, and reference packaging are attached. Please help review the structure and quotation direction.
How QX Packs Reviews Your Information
QX Packs is a custom packaging manufacturer in Shenzhen, China, supporting global B2B packaging projects since 2004.
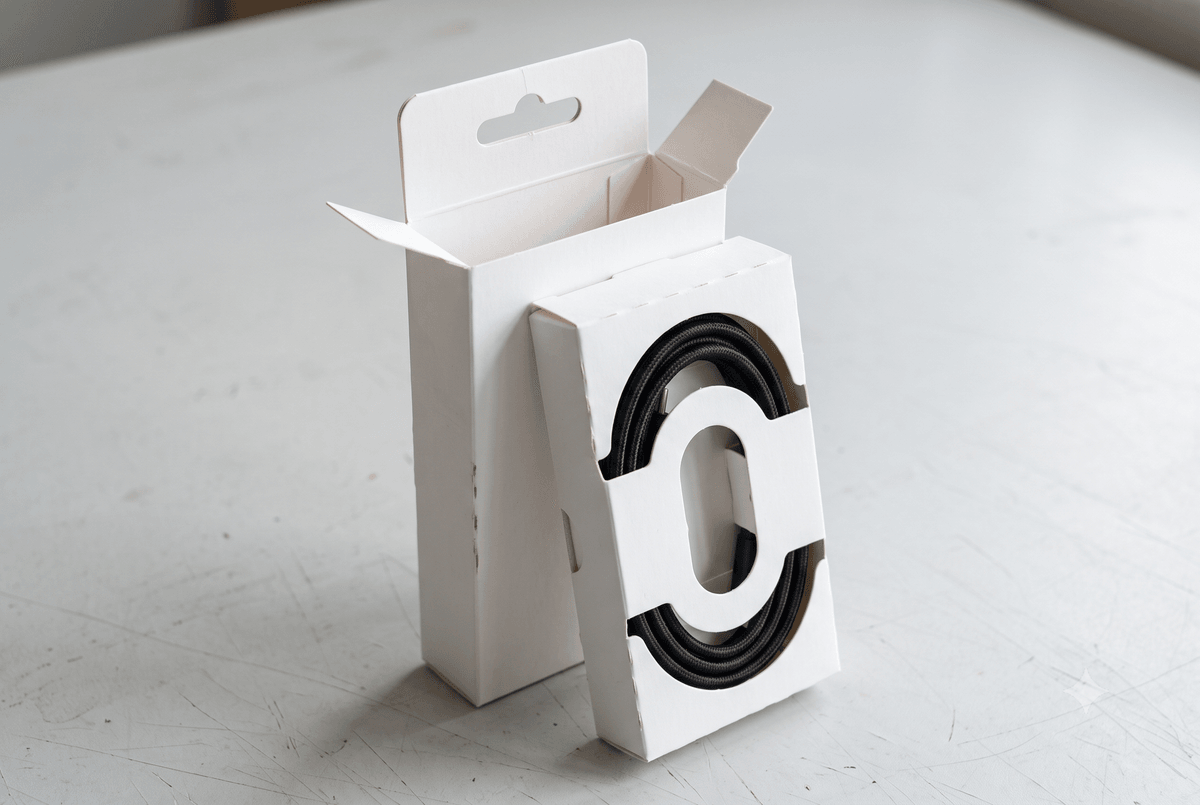
After receiving your project information, we can review:
- Product size and weight
- Box structure
- Internal layout
- Insert direction
- Material options
- Printing and finishing
- Quantity
- Sampling requirements
- Packing considerations
The purpose of this review is to identify a practical packaging direction before sampling and mass production.
Ready to Discuss Your Custom Packaging Project?
Share your box type, product or box size, quantity, material preference, printing and finishing requirements, insert needs, product photos, and target market.
Frequently Asked Questions
Do I Need to Know the Final Box Size Before Requesting a Quote?
No. If you do not know the final box size, send the product dimensions, weight, photos, accessory list, preferred layout, and packaging requirements. The final box size can be developed around the product and insert structure.
Are Product Photos Enough for an Accurate Quotation?
Photos are helpful for an initial review, but dimensions, weight, quantity, box type, finishing, and insert requirements are also needed.
For complex products, a physical sample may be required before finalizing the packaging fit.
Should I Measure Each Accessory Separately?
Yes. Each item affects the insert layout and final box size. Measure the main product, accessories, manuals, cards, cables, and any other components packed inside the box.
What Measurement Unit Should I Use?
Millimetres are preferred for packaging development. If you use inches, label the measurement unit clearly and use it consistently.
Can QX Packs Recommend a Box Style if I Only Have the Product?
Yes. Send the product size, weight, photos, quantity, target market, sales channel, and required protection level. These details can be used to discuss a practical starting structure.
What Is the Standard MOQ?
The standard MOQ is 1,000 pieces per design.
A quantity of 500 pieces per design may only be considered when compatible designs share the same size, structure, materials, and production setup.
Conclusion
A useful custom packaging quote starts with accurate product information.
Before contacting a packaging manufacturer, measure the complete product, record its weight, photograph important details, list every accessory, prepare a simple internal layout, and explain your packaging requirements.
You do not need to make every technical decision yourself. Clear product information gives the manufacturer a reliable starting point for recommending the box structure, insert, size, material, and sampling direction.
Ready to discuss your packaging project?
Send your box type, product size, weight, quantity, material preference, printing or finishing requirements, insert needs, product photos, reference packaging, and target market to QX Packs for practical structure and quotation support.